Jan. 31 ~

Opening the box. As always, AMT kits are molded in white.

Best thing to do first is check for missing or damaged pieces. But I never really find any with AMT kits.
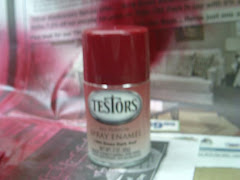
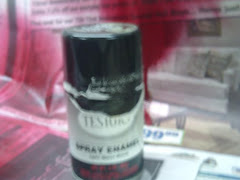
Spray Painting ~

First thing is to spray paint the body parts.

The dashboard is sprayed also.

So is the hood.

After waiting about 5-hours for it to completely dry, a second coat is sprayed on to even it out.
Brush Painting ~

Then other parts are brush painted black.

Feb. 1 ~

After the body sat for several hours, I hung it to finish the drying process. It was left like this overnite.

Black spray painted parts were hung overnite also.
Feb. 2 ~

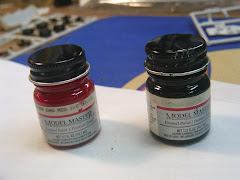
Engine parts are painted French Blue and Gold.

Engine block is painted Chrysler Engine Red.


Exhaust system is silver. Other engine parts are black. Battery caps are yellow.

Steering colume is red.
Feb. 3 ~

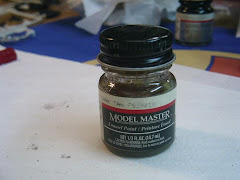
Interior is going to be two tone. The inserts are painted Dark Tan.

The dashboard is trimmed in silver. The gauges are decals, so the finished dash should look pretty good.
Feb. 4 ~

The interior painting is started. The colors are tan and gloss black.

The rear window shelf is also black and the "300" logo bar is silver.

Door panels match the seats. All that's left to do on the interior is the silver trim and some tan touchups.

The steering wheel is painted gloss black with silver horn and hand grips.
Feb. 5 ~

The engine construction begins.

This kit even has a transmission dipstick tube.

While the engine glue dries, I painted the headliner gloss black.

Then I painted the insulation under the hood flat black.
Feb. 6 ~

The whitewalls had to be pressed into the tires.

Hubcaps are installed.

Brake drums are inserted into the backs of the tires.

Seats are glued into the interior.
Feb. 11 ~

Engine is complete.

It's time to put the decals on some of the parts.

I put warm water into a clean ashtray...

...and soaked the decals.
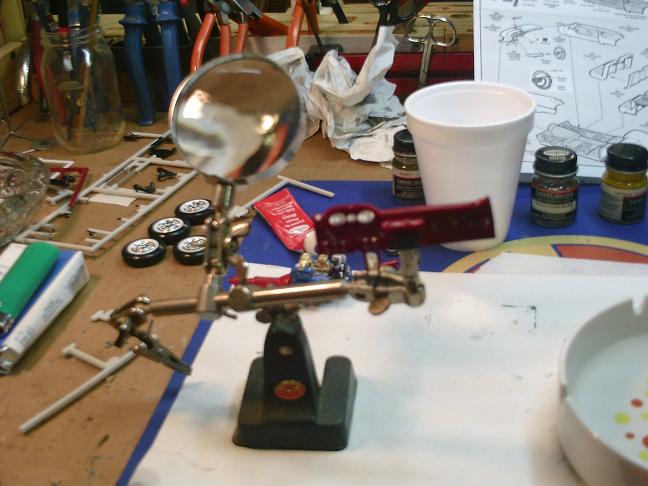
I locked the dashboard into the clip to hold it steady so I could put the decals of the gauges on.


Once the decals were dry, I installed the dashboard into the interior.
Feb. 12 ~

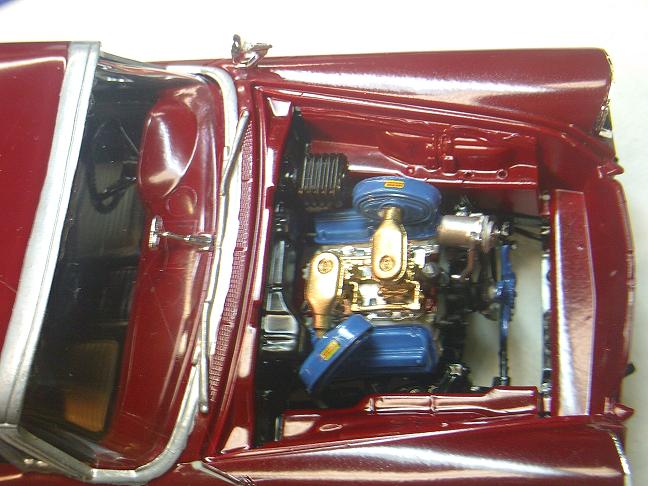
The front end is installed.

Engine is mounted. (Notice the tiny decals on the air cleaners).

Exhaust system in put in.


Springs are glued to the rear axle.

Rear axle is installed to frame. Driveshaft is installed.

Next, the wheels and tires are put on.
Feb. 13 ~
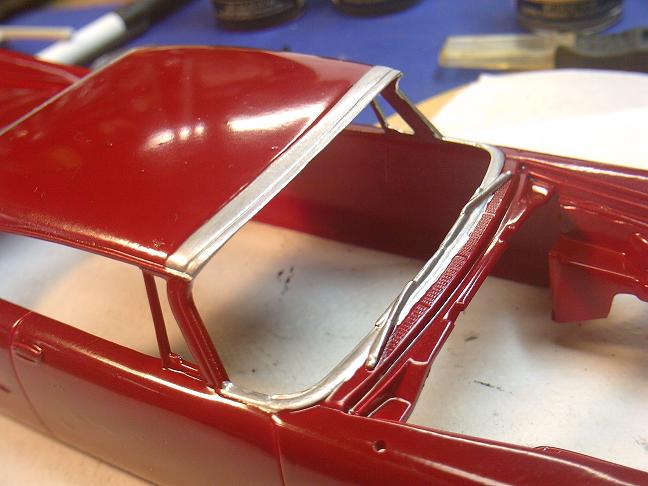
Next, I paint the silver trim around the windows.

This is the really hard part for me these days. My hands arn't as steady as they once were.

I actually have to hold my breath with each stroke so I don't smudge it.

Next, I glued the rear shocks in place.

The interior is glued to the frame. It didn't want to set tightly together, so I put a weight on it.

Feb. 23 ~

I took about a week off to do some other things. After painting the window frames, I installed the windshield and rear window glass. I had to weigh it down untill the glue dried.

Feb. 25 ~

The firewall is glued in.

Now it's time to paint the logo on the sides. The top is supposed to be red, the bottom blue and the "300" silver.

Feb. 26 ~

The body is installed. It had to be clamped untill the glue dried.


The bumper and taillights are installed.

The license plate and trunk lock is put on.

Headlight lenses are glued into the cowls.

Interior matches up.


The silver is painted onto the "300".
Feb. 27 ~

I left a clamp on the front end all night.

The frame is glued underneath the car.

The headlight cowls are installed.

The headlights are in.
Ready to finish the engine compartment.

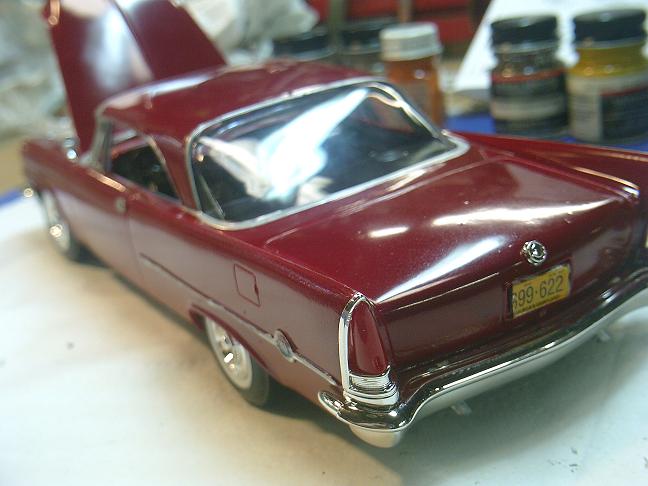
Taillights and rear bumper.

Grille and front bumper.

The finished interior. Black seats with stainless steel trim.


The car is done!